Ballast a danaxe for Herja
Required materials
- a Herja standard daneaxe
- a standard shaft
- resistant adhesive tape
- some string
- something to act as weight(s)
- white or wood glue
1/ Assembly
The first thing to do is to get a standard shaft for Herja, solid enough for fighting. There are several wood species that work well, here we mostly use hazelwood as it is vastly available, from all diameters and sizes, but also because the wood is flexible and solid, so perfect for a shaft.
For the size, a daneaxe must be 1m20 at maximum, from the bottom tip of the shaft to the superior tip of the axe head.
Concerning the diameter, since 2021, in order to have a minimal weight, it has to be at 3cm minimum on all the shaft. For the reference here, it is larger than 3cm, so you can take it a bit thinner if you want.
When you have it, dry it in a spot neither too hot nor too humid for a few weeks. Remember to remove the bark for it to dry faster.
Once your shaft is ready, it is time to install the blunt. For that, you have to shape the side which is going to receive the end so that you can fit the eye of the blunt. We advise you keep it a little bit larger and use force to put the blunt in, so that it sticks to the wood.
We also advise you to drill a few screws with a washer (with round head), as it will fix the blunt to the shaft even better. This will prevent it turning or being removed during a battle.
2/ Putting the weights
Since 2021, the ruleset for daneaxes has changed. The rubber blunt and the weights must weigh more than 800g, excluding the weight of the shaft.
A regular daneaxe head blunt only weighs 100g, so you need to compensate 700g.
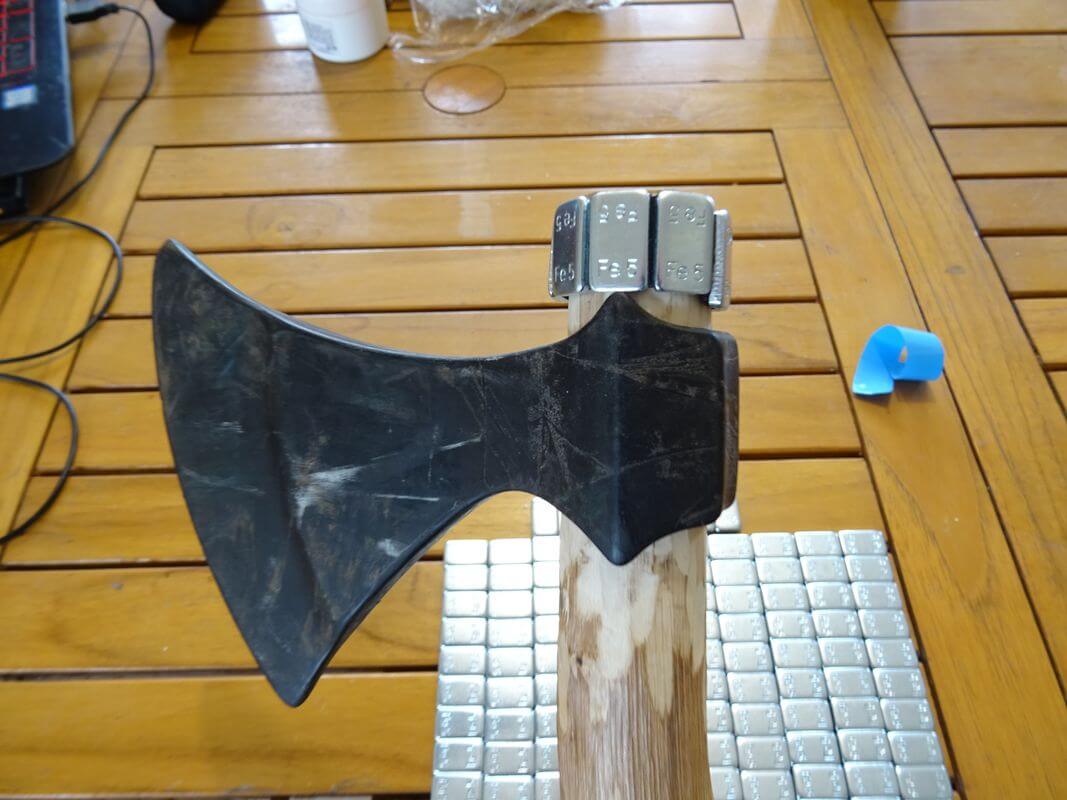
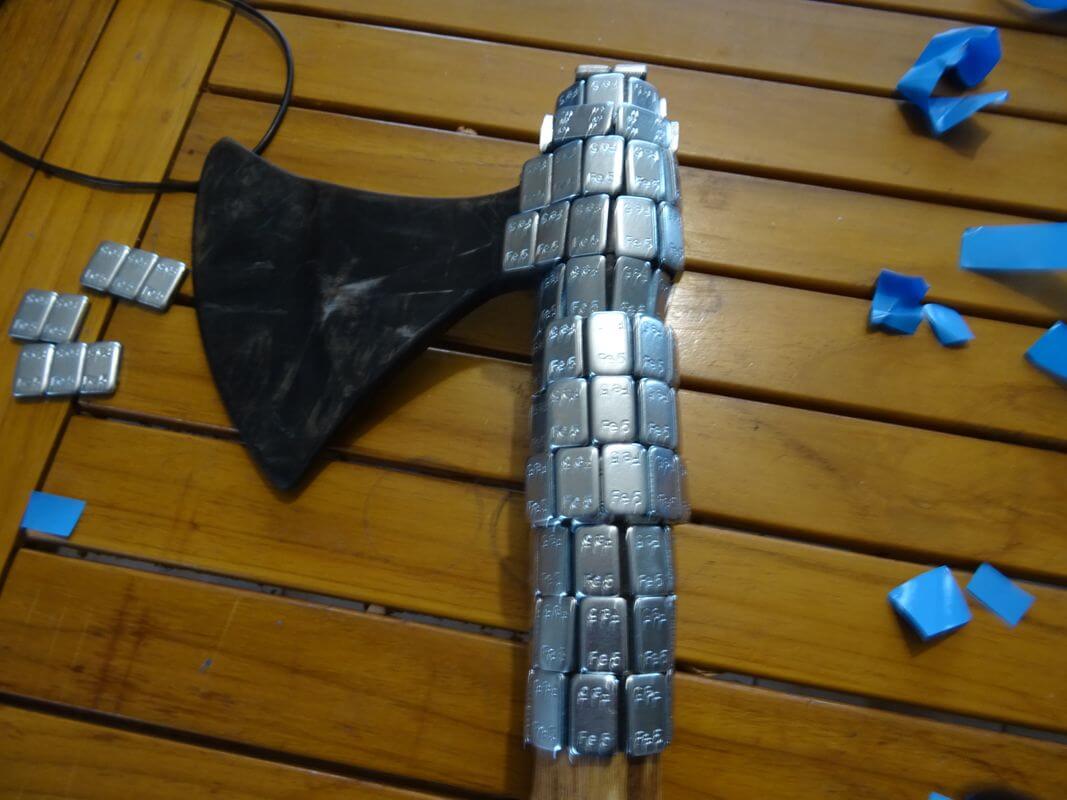
Warning ! It is forbidden to place the weights on the bottom part of the shaft opposing the head, the weights must be as close as possible from the blunt.
There are several ways to add the missing weight to the daneaxe. For now, we propose only one, but if you find more, do not hesitate to send it to us so that we can add them here!
The only restriction, although not small, on the method is that it has to be secured for you and the other participants. There must be no strong edges, nothing sharp, pointy, or anything dangerous.
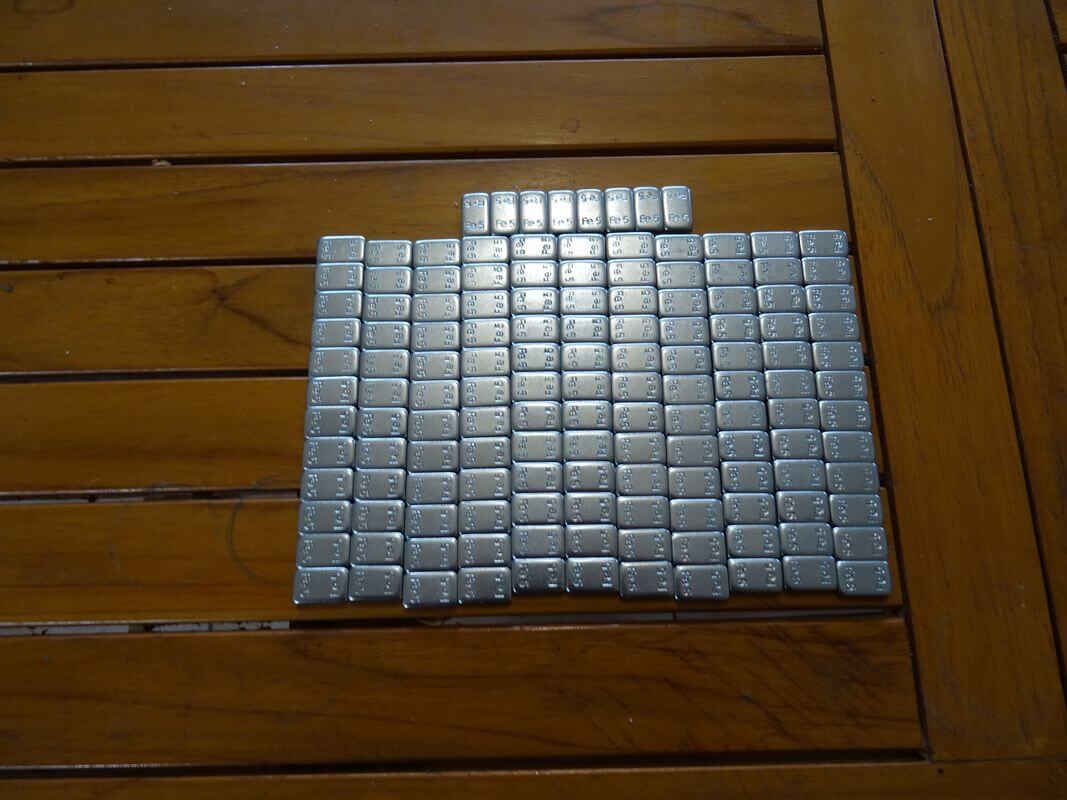
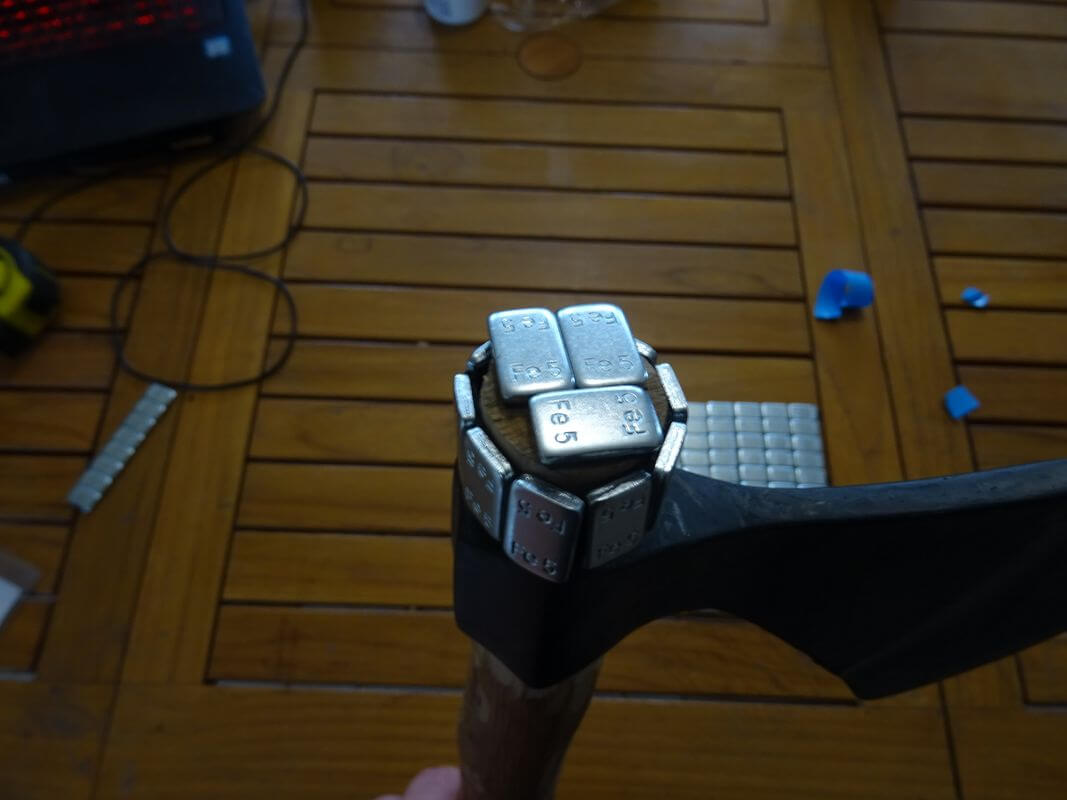
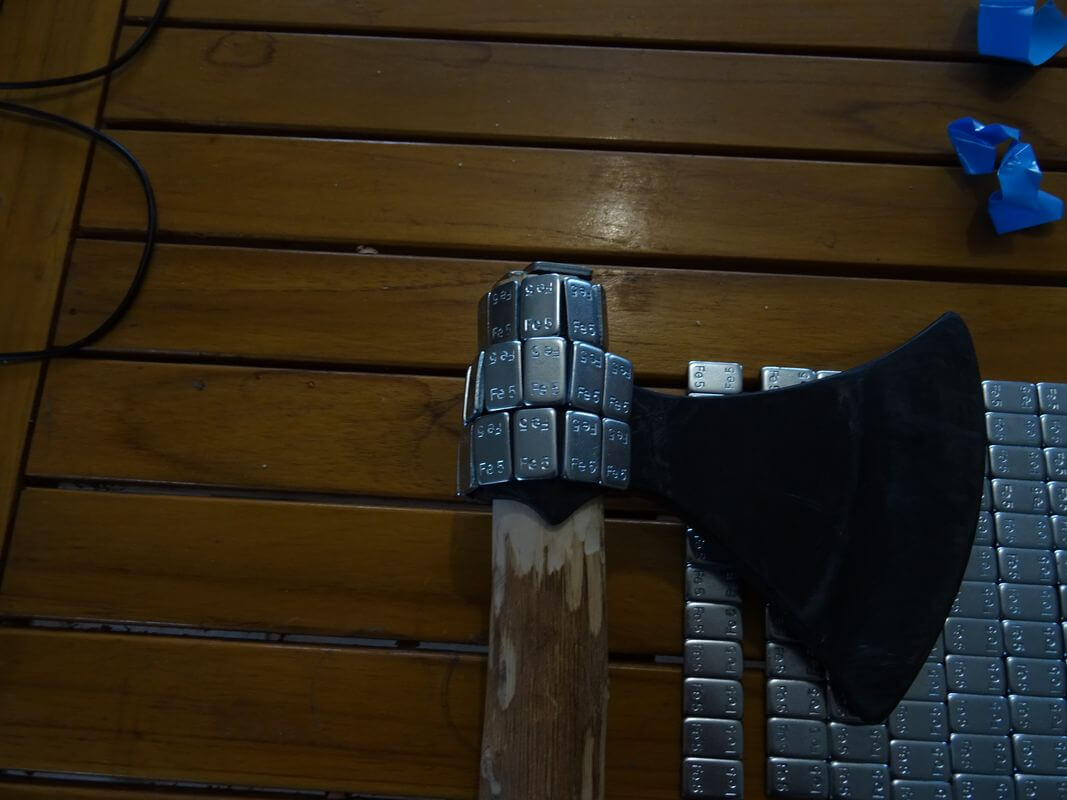
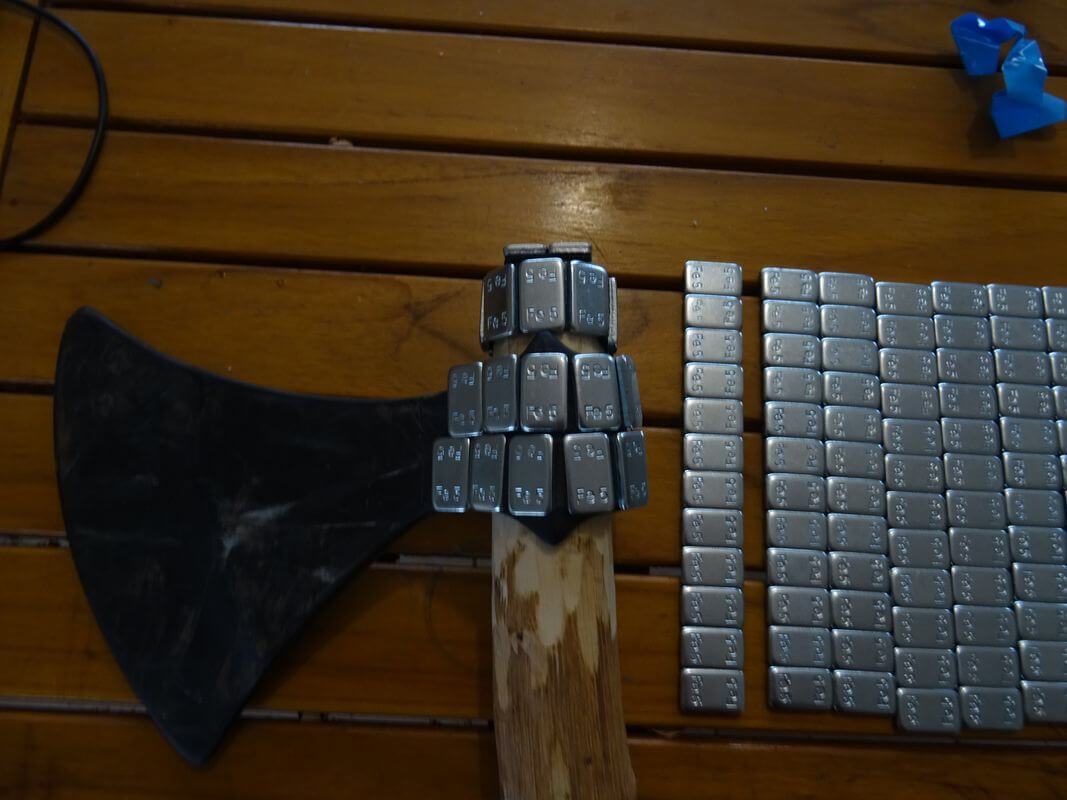
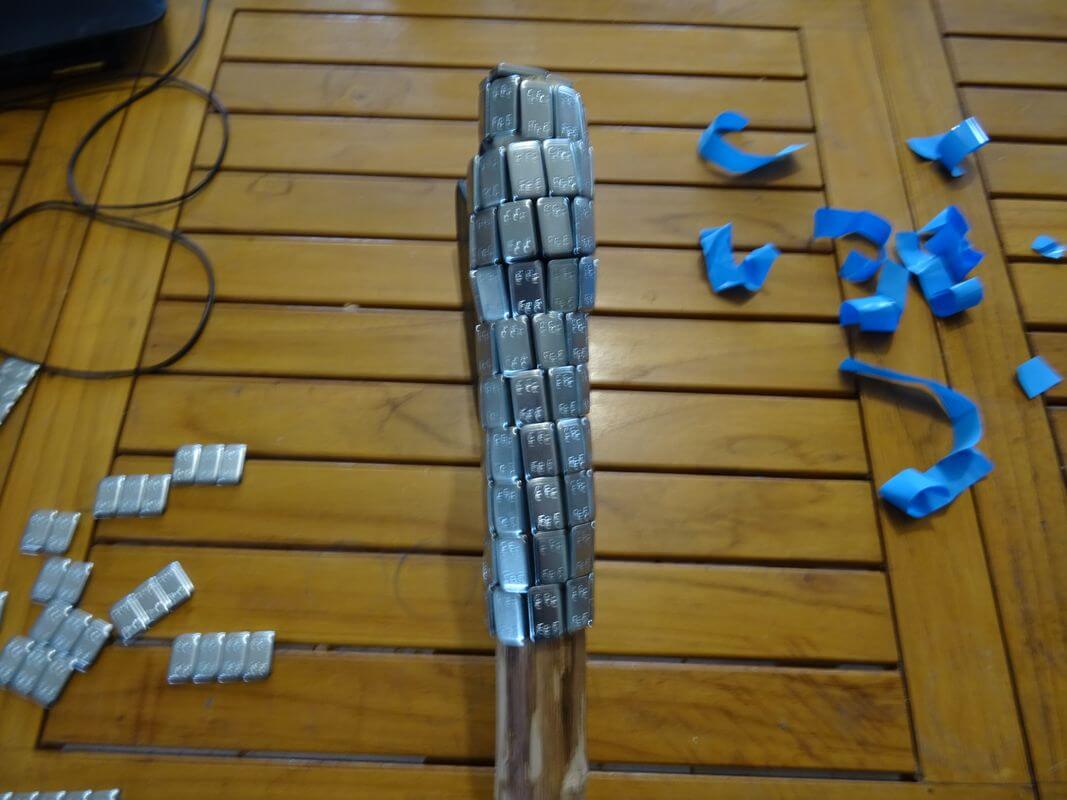
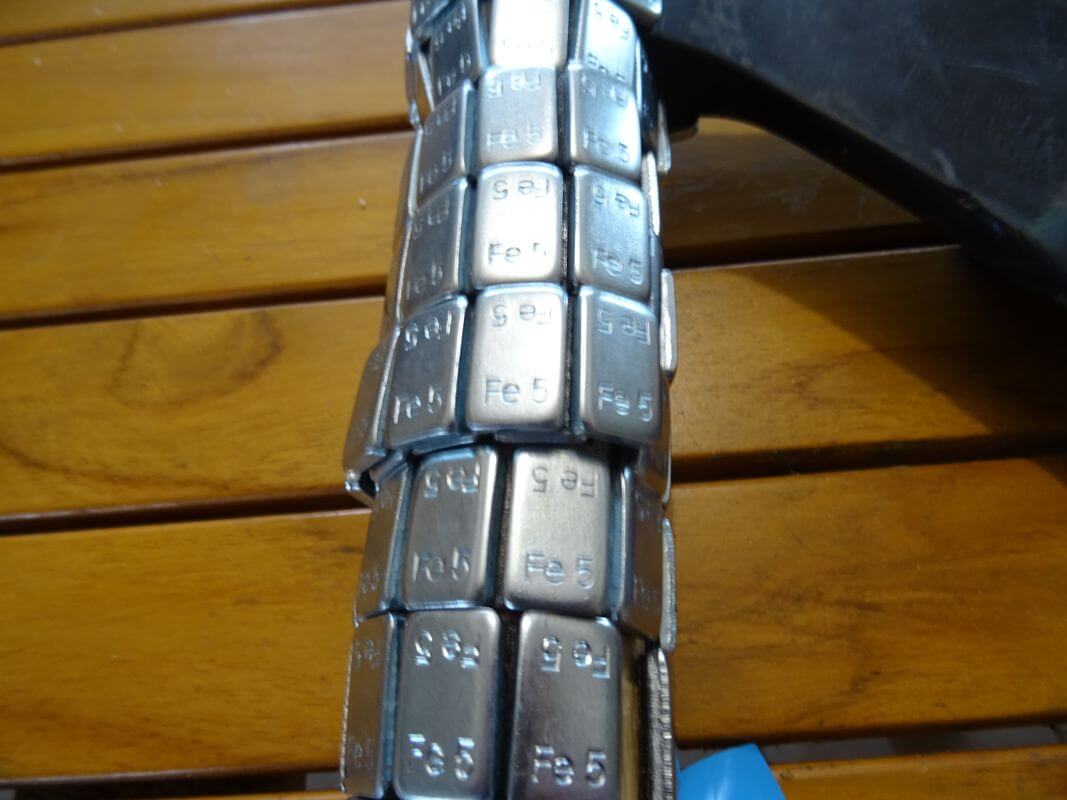
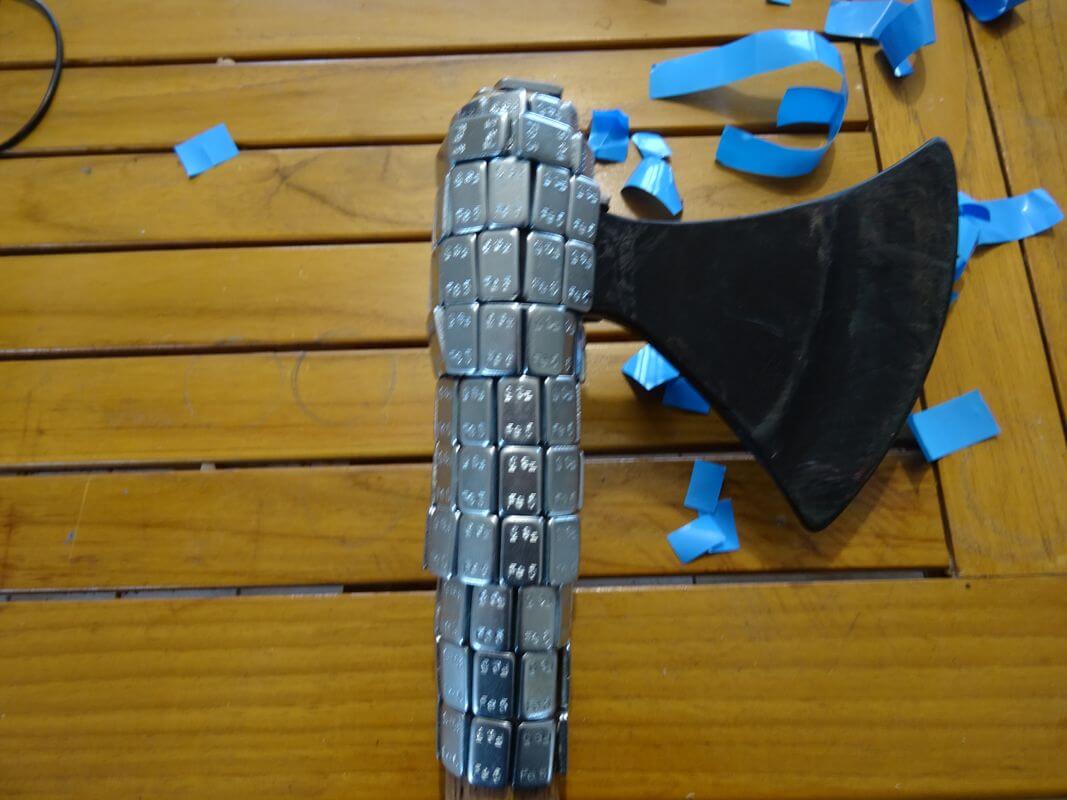
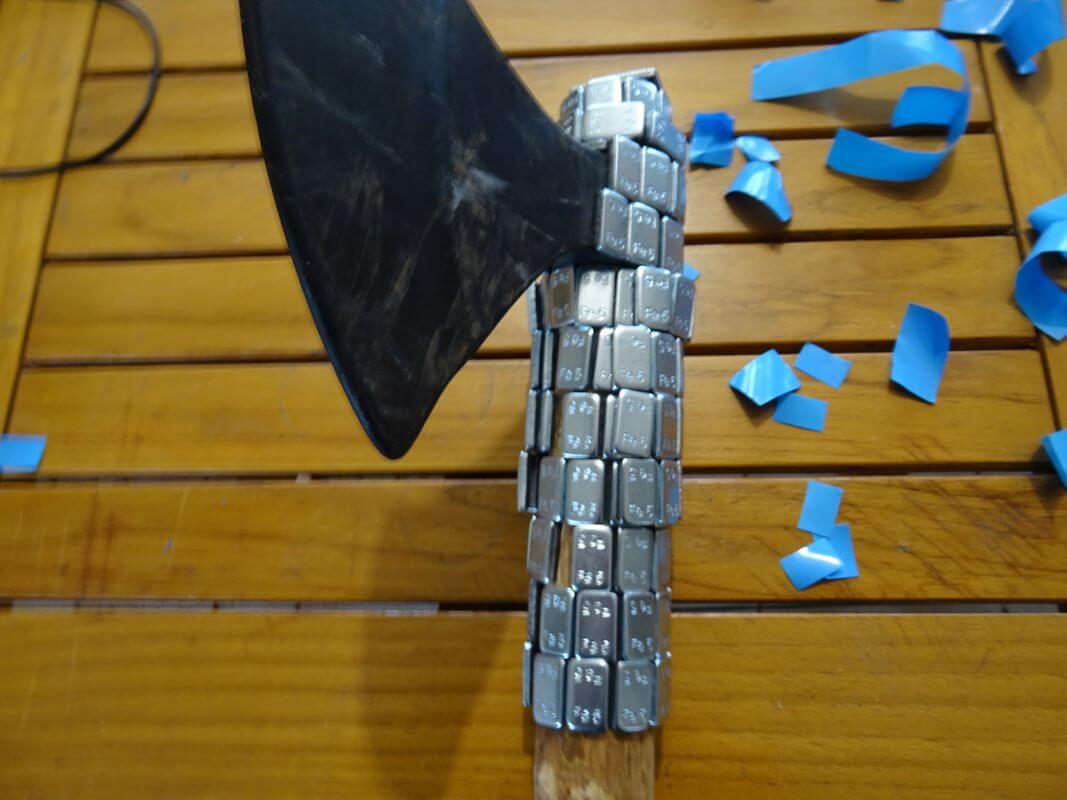
We used here car wheel weights (link to purchase below). What is practical about it is that each block is calibered at 5g, so it’s easy to compute. It’s also in steel which is a relatively soft metal, and already put on a double face adhesive tape.
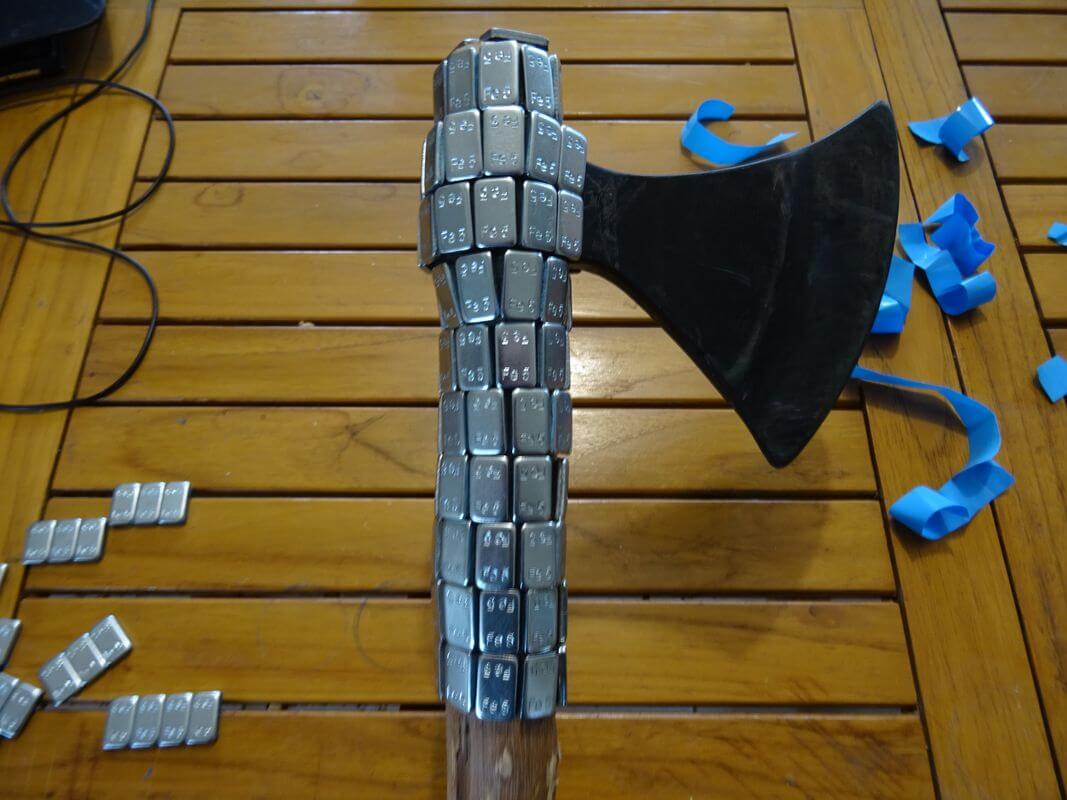
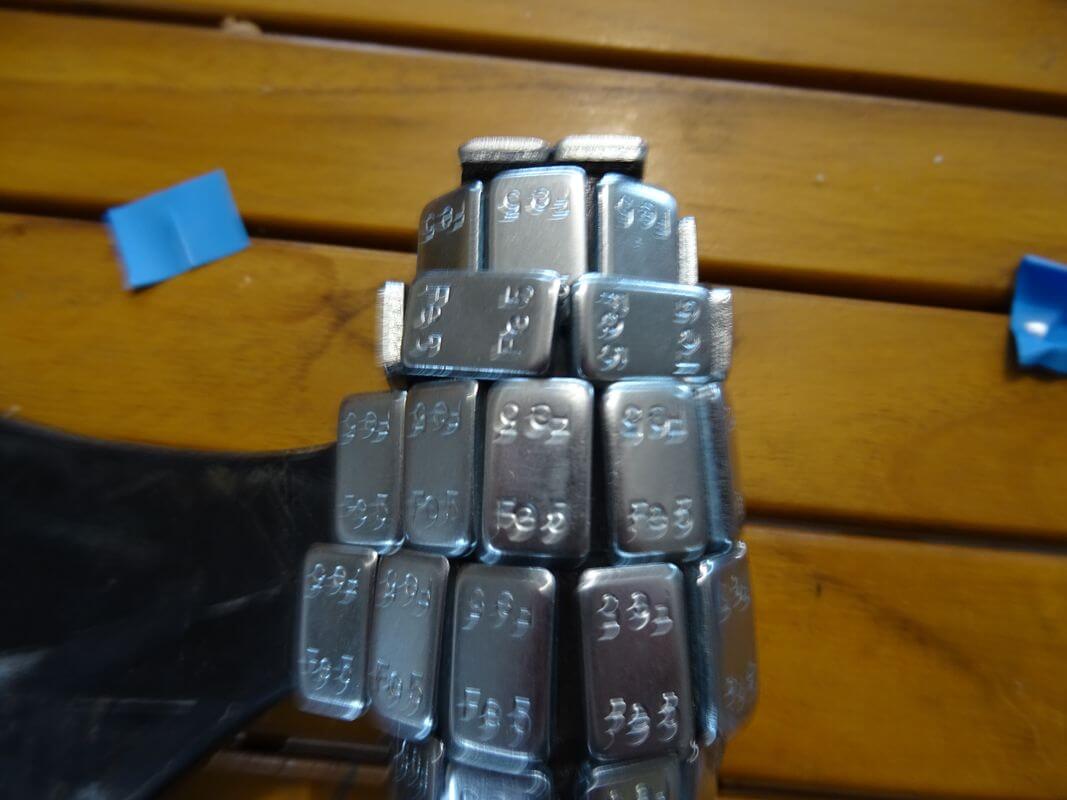
Very easily, I tapes them on the shaft close to the blunt. As there are a certain amount of way to put, they have been put on 2 layers. However, on the side of the blade, I only put one layer for more safety.
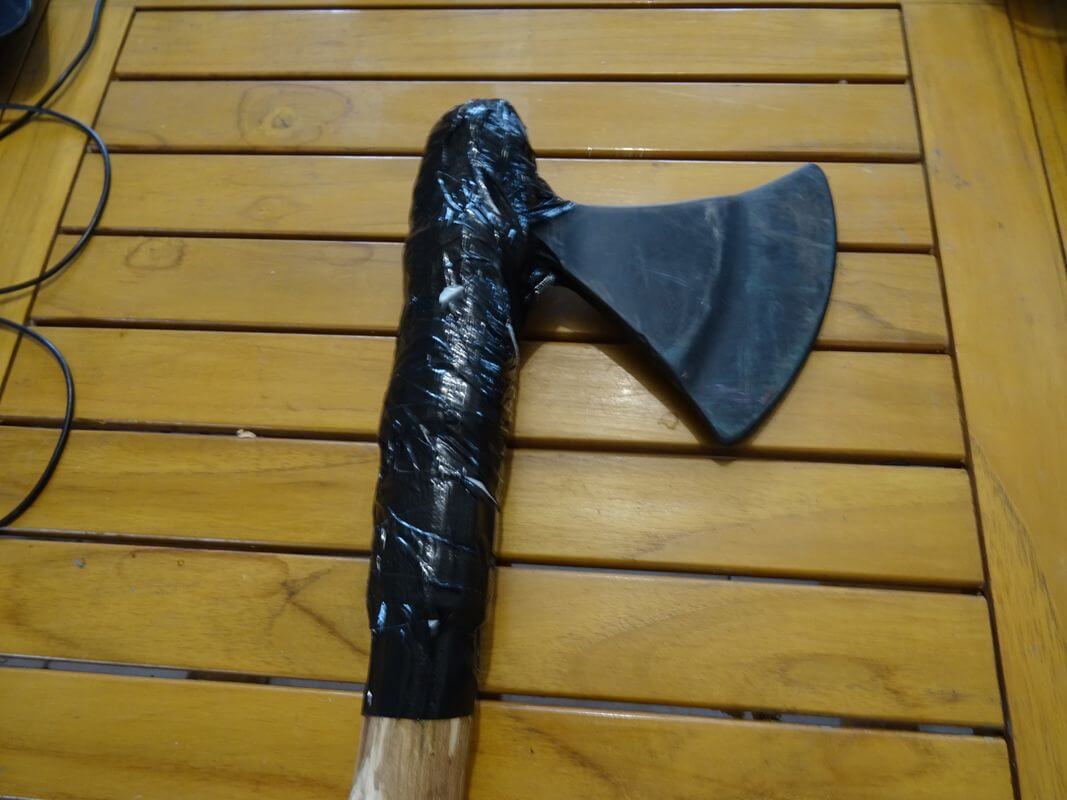
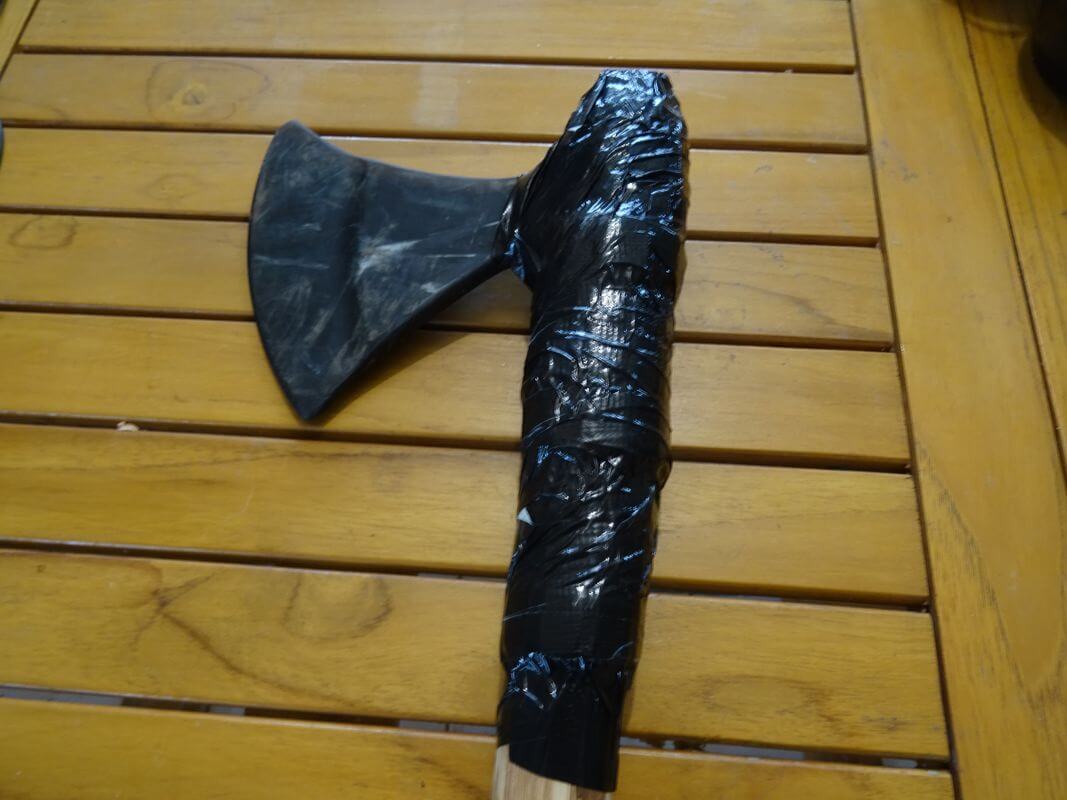
I then covered everything with adhesive tape to maintain everything and secure it more.
Some link to purchase the ballast weights:
3/ Finitions
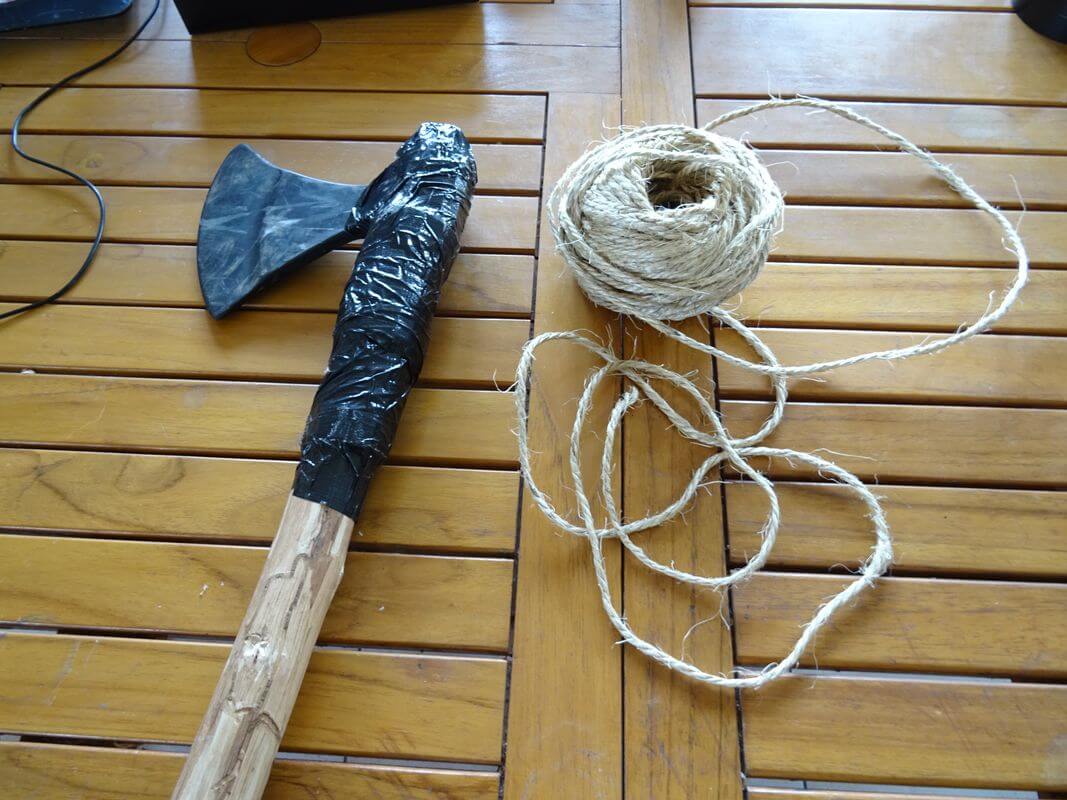
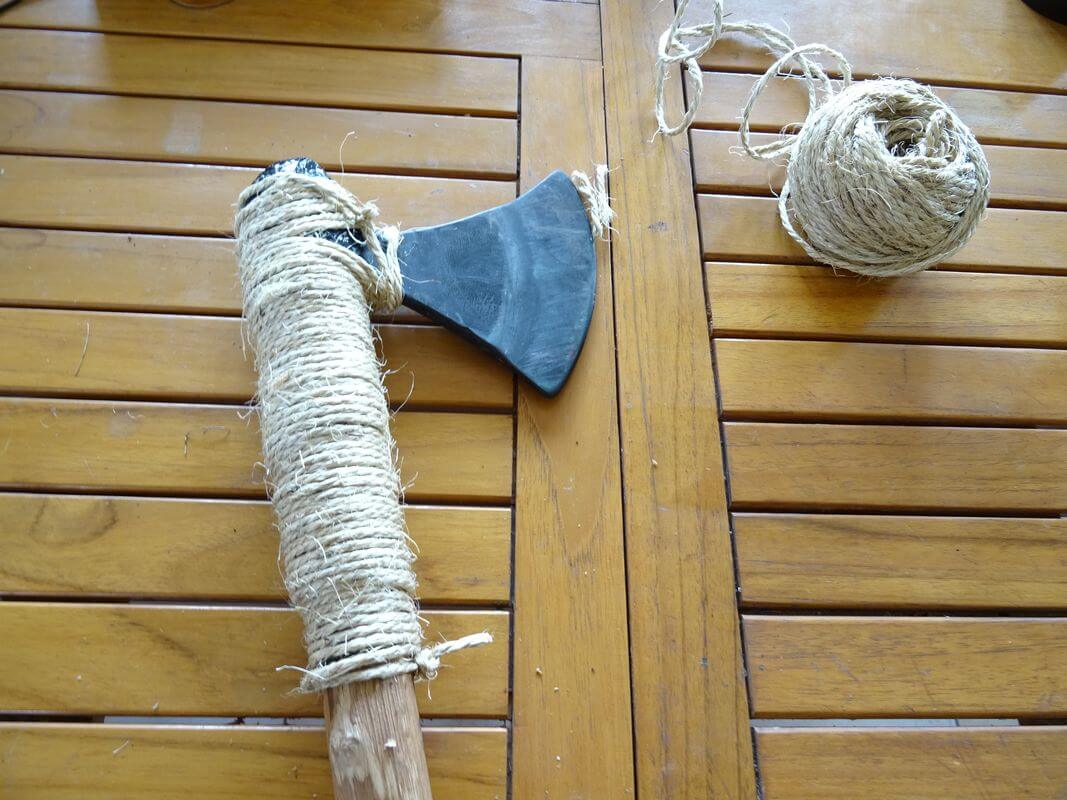
The black tape, in my case, isn’t looking great for a viking axe. There is an easy way to hide it, simply by using rope.
Take a string bobbin. It must not be too thin, so do not use kitchen twine, nor too large, we said string, not rope!
For the more detailed method, refer to the spear installation tutorial.
If there are areas where you can’t manage to put a string above the weights, as it is here the case on the end, you can cover with a thin strip of thick fabric and then put some adhesive tape to secure it.
And there you go, your daneaxe is assembled and ready to participate on Herja battles!