Repairing a broken plastic/rubber axe
Materials required
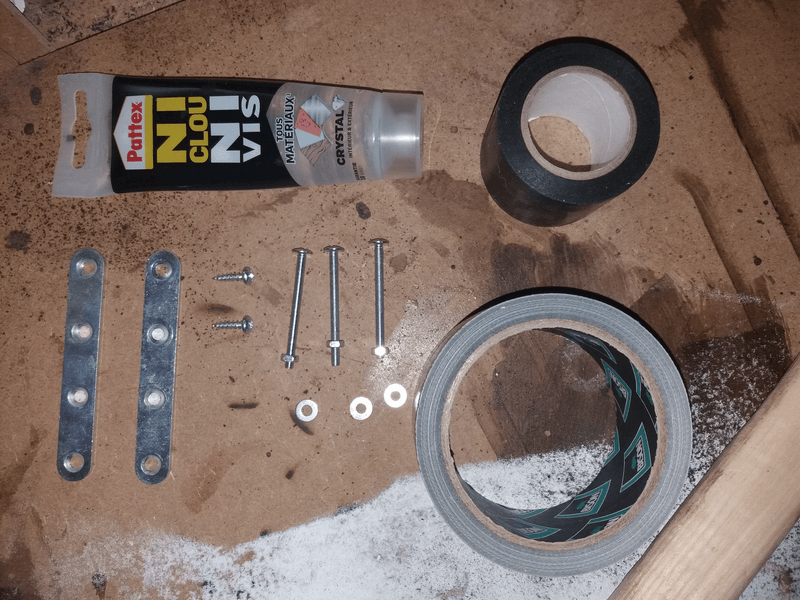
Consumables :- 2 assembly lugs of a suitable size for the axe
- 2 small screws (with domed heads for greater security)
- 3 screws/nuts/washers of a suitable size for the mounting brackets
- Strong scotch tape (I use Black ultra-strong PVC adhesive tape which has more than proved its worth so far)
- Adhesive/fixing compound (here: PATTEX crystal fixing adhesive) (not compulsory but recommended)
- Tape in the colour of your axe (not compulsory but recommended)
 Tools :
- 2 pincers
- Screwdriver
- Drill
- Hacksaw
- File (recommended)
- Vice (recommended)
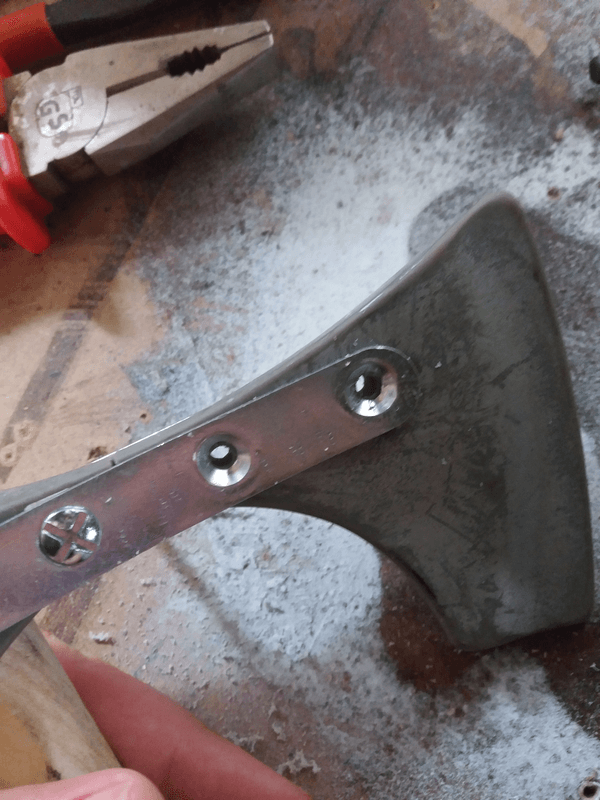
1/ Fitting the assembly brackets
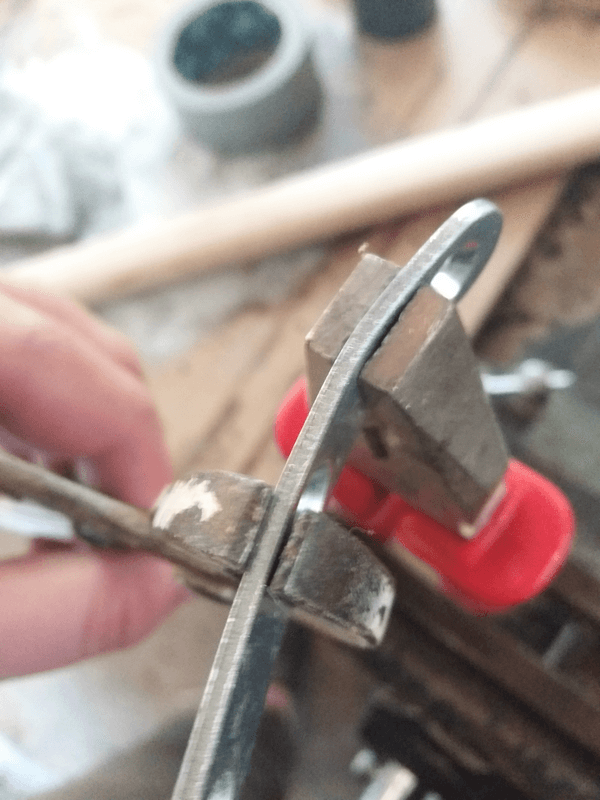
Using the 2 pincers, twist the bracket slightly to give it the shape of an axe.
Repeat the operation with the other assembly bracket, taking care to take the shape of the other side.
Once your brackets are in the right shape, put the first one in place so that the drill marks correspond to the first 2 holes.
Start by drilling (plastic + wood) at the 1st mark, using a drill suitable for small rounded screws.
For the second mark, use a larger drill bit suitable for the screw (the one with the nut), and drill as straight as possible to facilitate assembly with the other bracket.

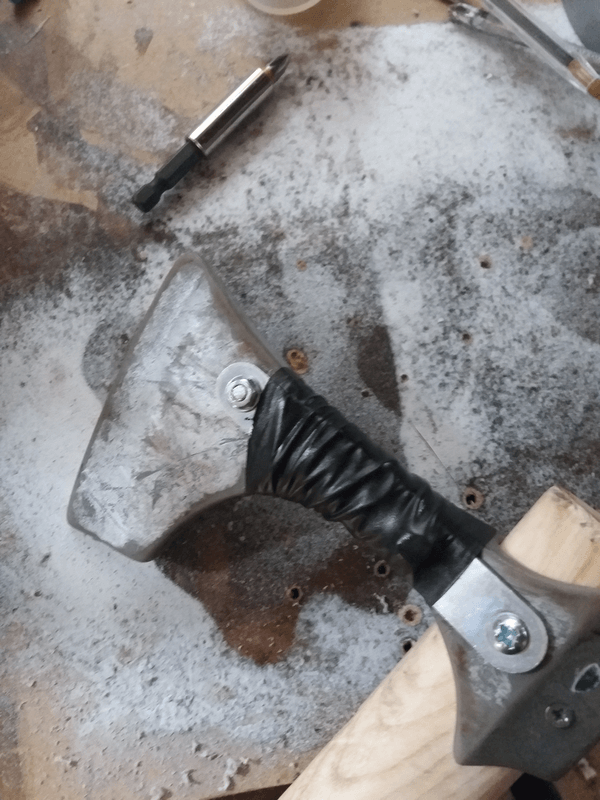
Next, screw the small screw into the first hole to secure the head and foot to the handle.
Thread the large screw through the second hole in the bracket and head, then do the same with the bracket on the other side. Secure everything with the washer and nut.
Tighten firmly to ensure a good hold and avoid any future problems.
Finish by repeating the operation for the small screw, but on the other side, now that you have its location.
Putting these screws in the wood prevents the head from turning as a result of repeated blows with the axe.
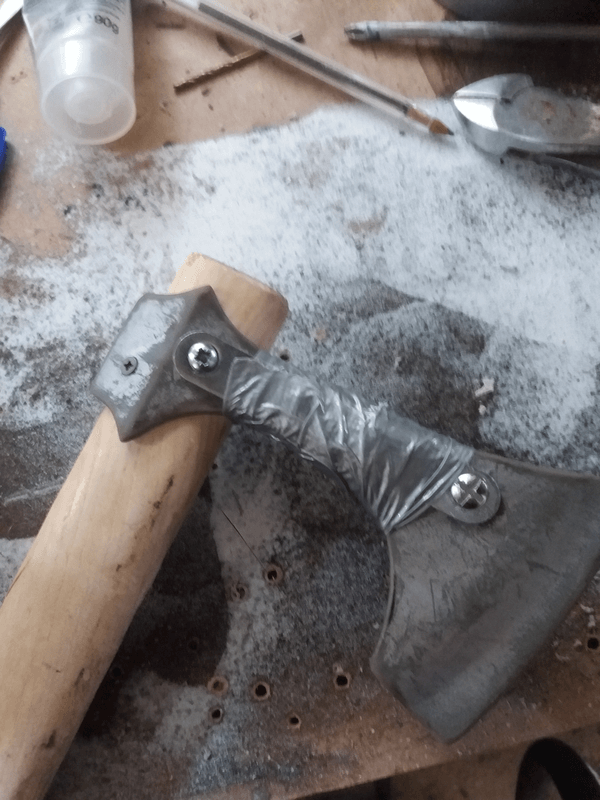
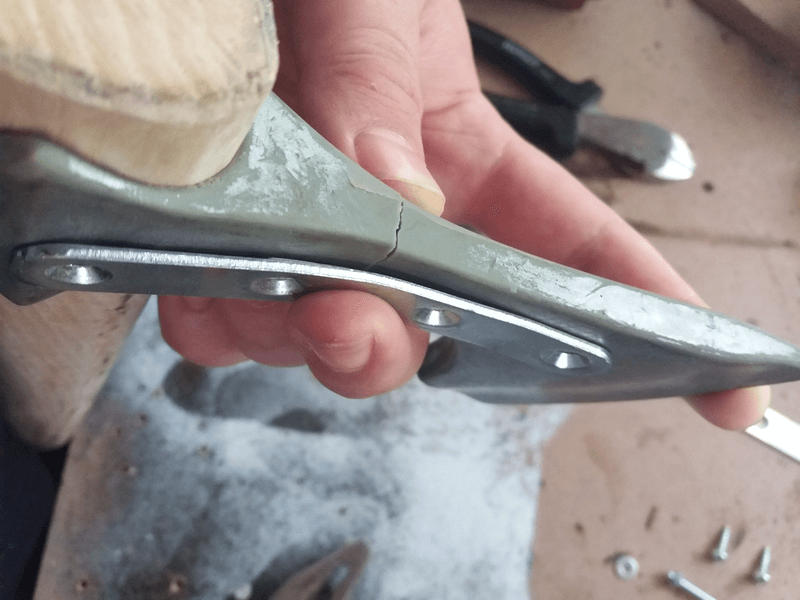
2/ Fitting the broken piece
Now that you have your 2 assembly tabs in place, thread the broken piece between them all the way through, leaving no gaps between the 2 pieces.
It's possible that the pressure of the legs will hold the piece in place on its own, but if not, don't worry.
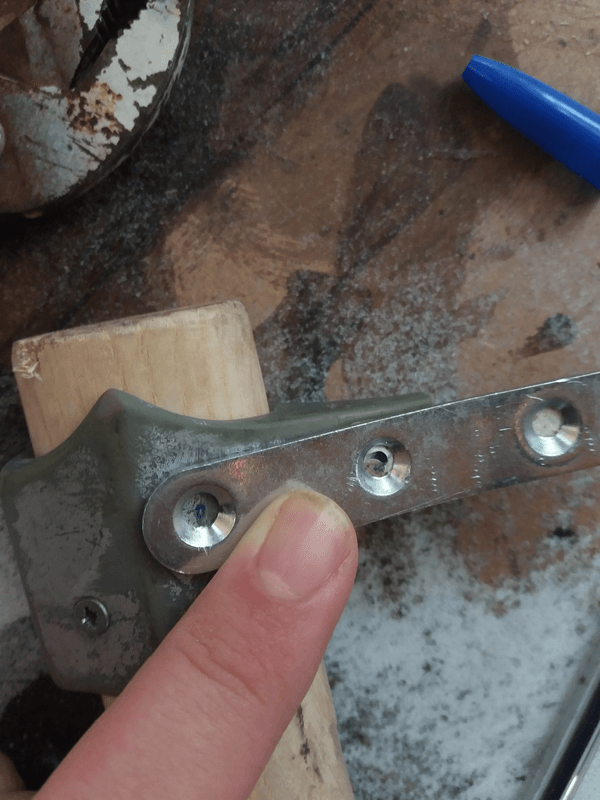
As in the previous step, make a mark and then drill the last 2 holes.
Be careful to apply the correct drilling angle so that the holes in the 2 assembly brackets line up correctly.
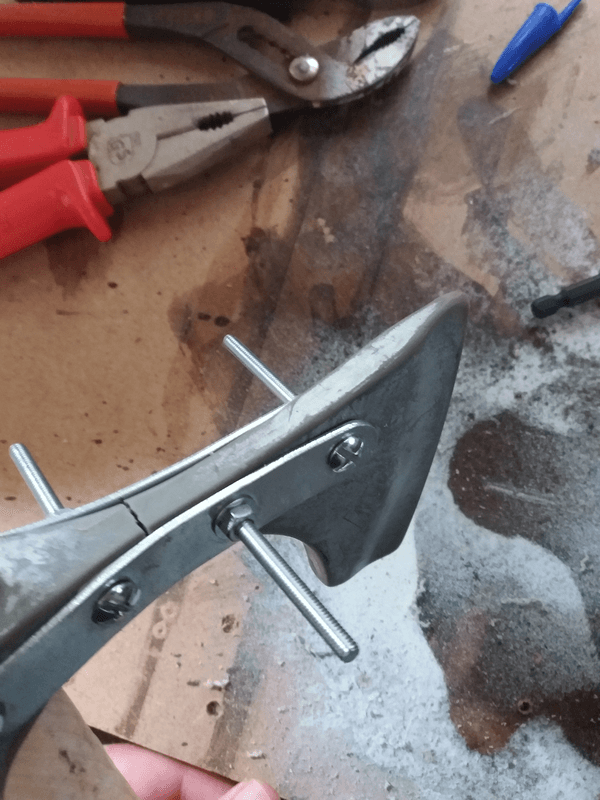
Once you've made your holes, lock everything in place with the 2 screws/washers/nuts you have left (tighten well).
In general, I alternate the direction from one screw to the other, but it's not compulsory.
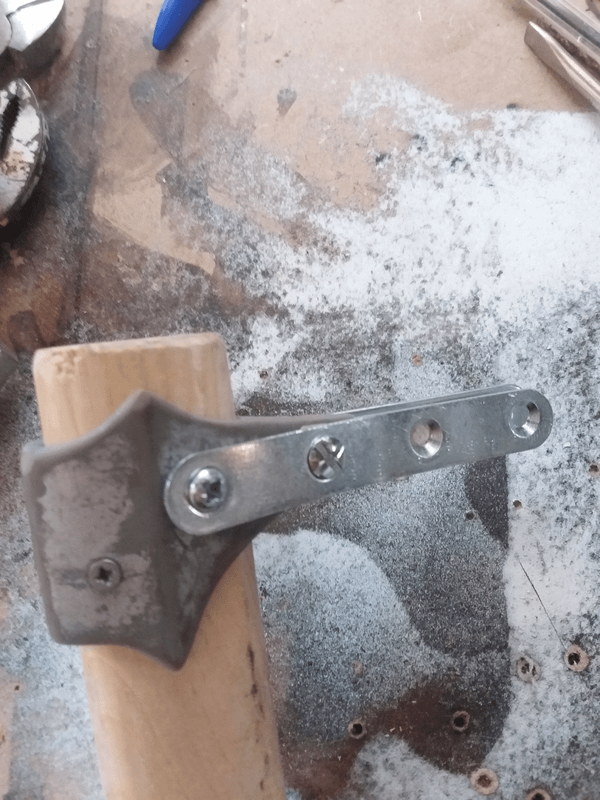
To complete this stage, saw off the unnecessary screw flap as close as possible to the nut.
If you have a file, you can use it to remove anything protruding from the nut so that there are no sharp edges to make it more secure.
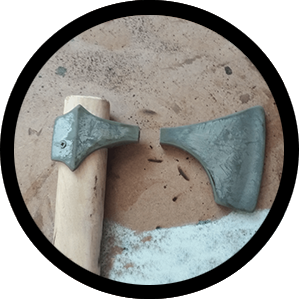
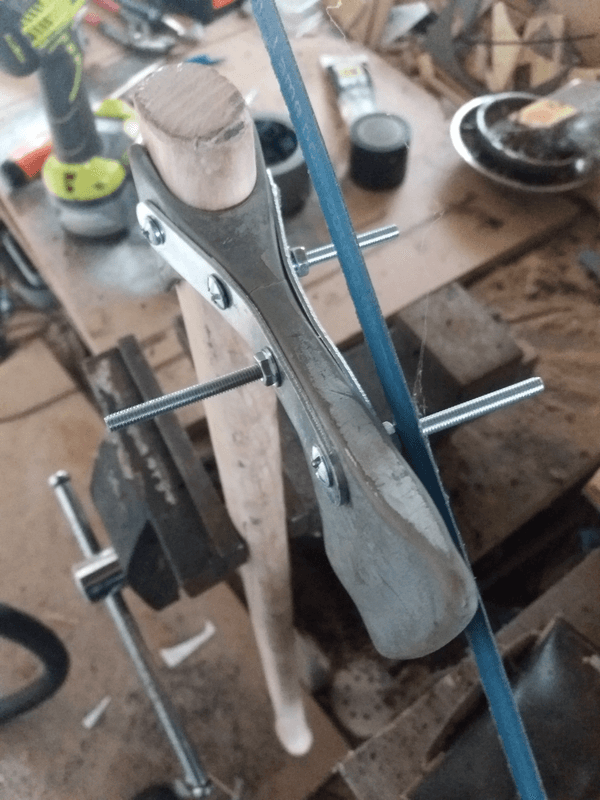
3/ Finishing touches
The assembly tabs can be wider than the axe, to avoid any uneven surfaces and provide maximum hold, I fill the gap with glue/fixing compound.
The assembly lugs provide a very good hold, but to make everything secure and rigid, I wrap the whole thing with very tight, solid scotch tape.
This is an important step, as the tape will hold the repair in place and make it last longer.
Finally, for aesthetic reasons, you can camouflage the repair with scotch tape in the same colour as your axe.