Lest a danaxe for Herja - 2nd method
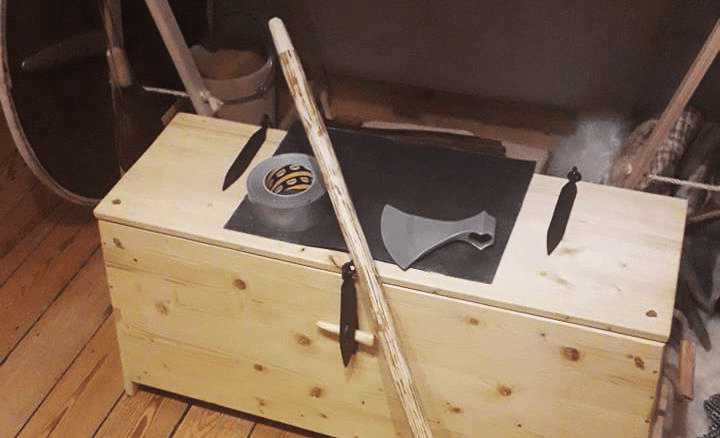
Materials required
- a compliant danax for Herja
- a compliant shaft
- strong tape
- lead sheet (available in DIY shops,
different sizes, use the cheapest to weight down your handle) - leather and strong thread for sewing
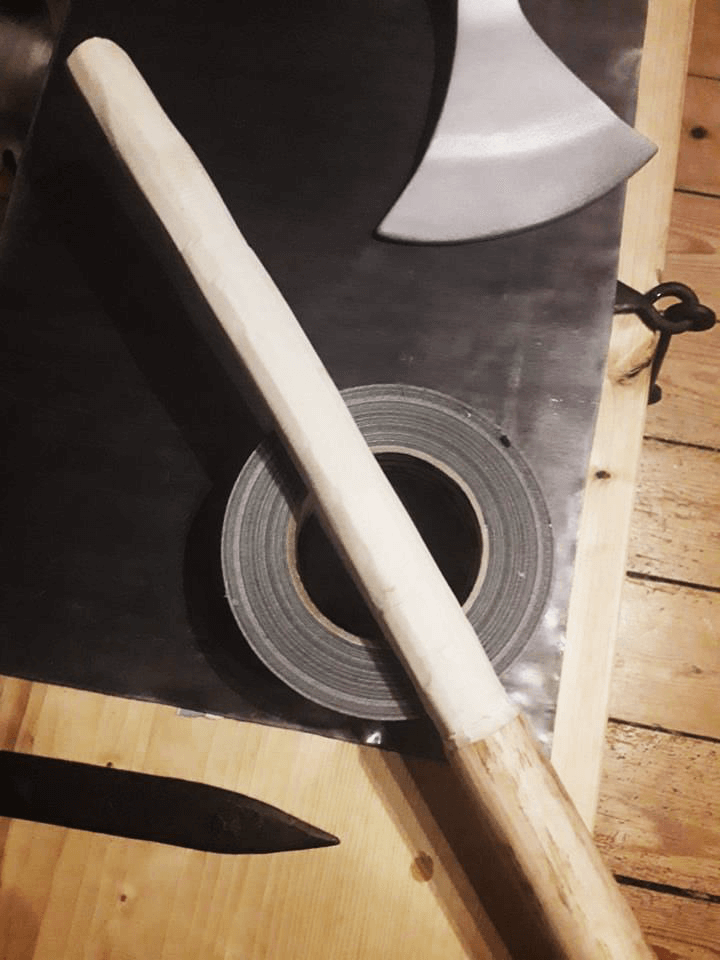
1/ Preparing the handle
Refine the head of the handle (with a knife, wood rasp, plane, sander, etc.) so that you can roll up the lead sheet and have enough room for the eye of the axe.
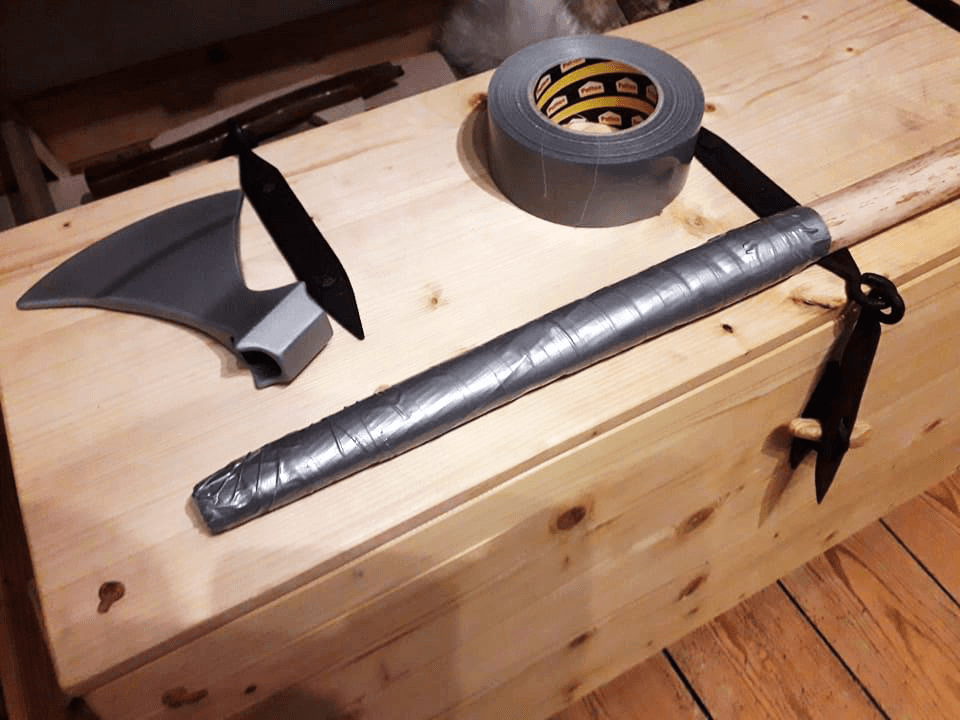
2/ Adding weight
Since 2021, the regulations for a danaxe have changed. The rubber head + ballast must weigh 800g (not including the weight of the handle).
In general, a large rubber axe head weighs only 100g, so you need to compensate by 700g.
Warning! It is forbidden to place a counterweight on the heel of the axe. The ballast must always be as close as possible to the blunt.
There are plenty of ways to add the weight your axe is missing. For the moment we're offering 2, but if you find any, don't hesitate to send them to us so we can add them here!
The only restriction, but not the least, on the method is that it must be safe for you and the other participants. There must be no sharp edges, points or other dangerous shapes.
Wrap the lead sheet tightly around the handle (the sheet is flexible, so it will take the shape of the wood very well) and check that the eye of the axe fits snugly before tapping the whole thing firmly.
Once the ballast is in place, wrap it tightly with scotch tape to hold it in place.
3/ Fitting the blunt
Take a square of leather 1.5-2mm thick, cut out the 'corners' to form a pattern similar to a cross pattee, wet it well, place it over the head of the handle and press the axe head down hard. Once dry, the leather will regain some of its volume and become hard enough to hold everything together properly.
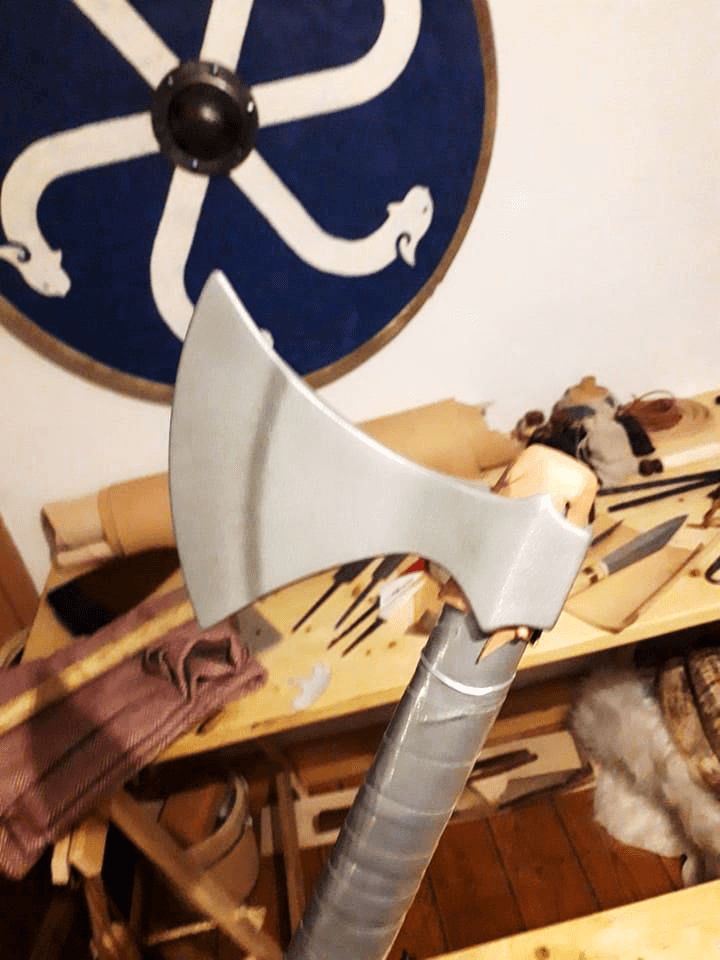
4/ Finishing touches
Cut the leather to the right size to cover all the tape. Take a length of sewing thread 6 times the size of the length of the leather rectangle and thread with a needle at each end. Drill the holes in the leather 5mm from the edges. A fork can help to make the holes even, and a nail can be used to enlarge the hole if you don't have specialised equipment (not too wide so as not to tear the leather). Once the holes have been made all along, start sewing. I chose cross-stitches, but to each his own favourite finish, I don't recommend lacing like a simple cross-stitch (with part of the thread running from the highest hole to the lowest hole directly on one side) because when tightened, the leather is likely to tighten badly and make creases. Finish with a hidden double knot and cut the thread flush, using a lighter to solidify the ends. For my part, I finally added a cross-brace of leather thread to the axe head to hide the last traces of tape in the gaps between the nylon and the leather.
Finally, apply a small amount of oil to the leather and handle. An edible oil such as sunflower oil will do the trick and darken the leather a little. It's also important to make sure the leather is tight enough to allow your hand to glide easily along the entire length of the handle without too much disturbance.
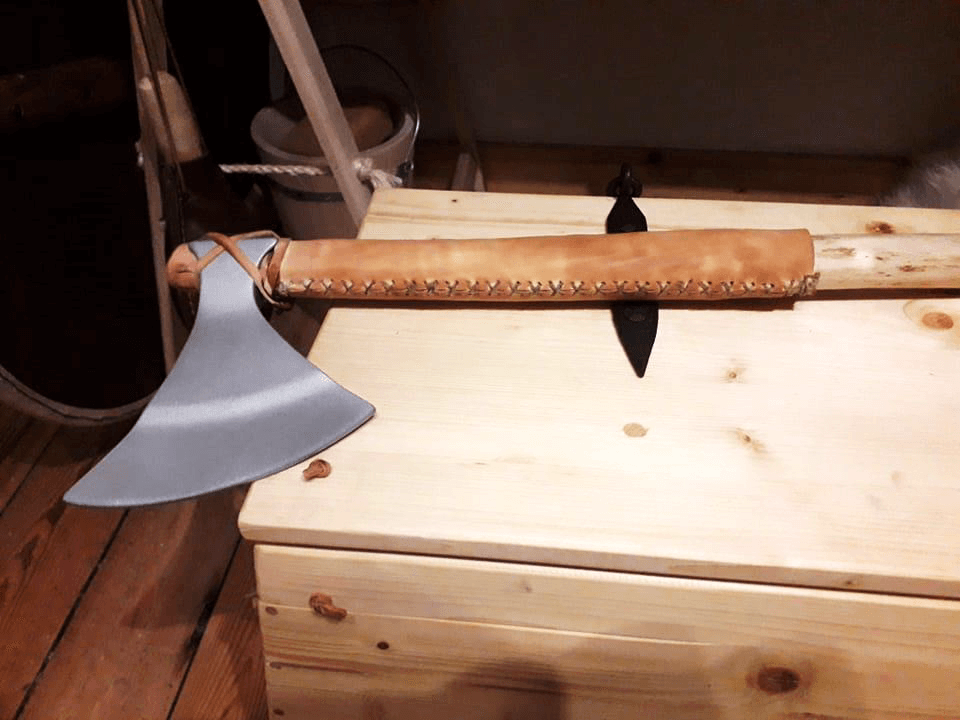
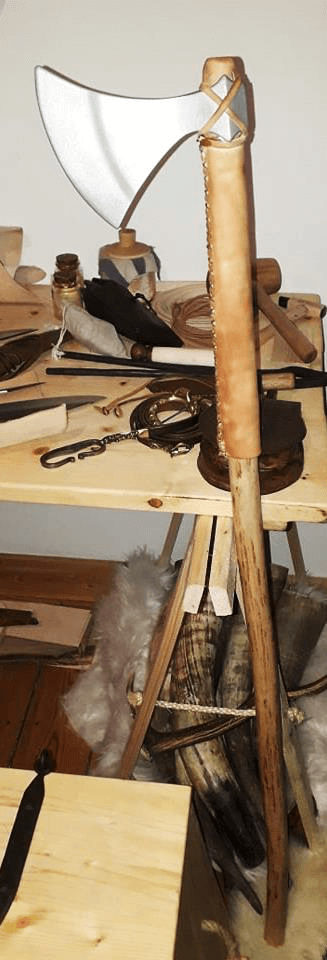
And now your danaxe is assembled and ready for battle in Herja!